Smoking & Grilling World, Using your FireBoard
Kamado x FireBoard Drive
Upgrading the Ancient
Kamado-style grills are everywhere, hardware stores, sporting goods stores, and anywhere that sells bags of lump charcoal will most likely have a Kamado to sell you. And so many to choose from! Companies like The Big Green Egg, Kamado Joe, and Primo bring to market dozens of options for every patio size and budget.

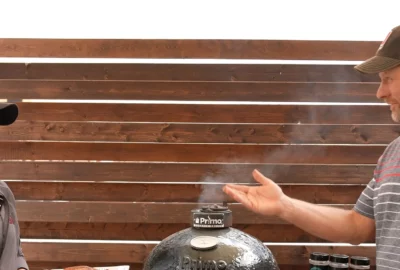
FireBoard Labs’ test Kamado, the Round Charcoal by Primo
Why so ubiquitous? Their unique design gives you the versatility to smoke, roast, or grille all in one attractive piece of patio equipment. Further, the ceramic construction provides excellent heat retention which yields a steady heat curve. Not to mention the vast amount of accessories available. These grills have a clever ancient aesthetic, but pairing that stable heat curve with a smart temperature management system is the makings of a 21st-century backyard cooking experience.

FireBoard Pro with Drive Blower set to manage 225ºF

Drive Blower and included adapter plates from FireBoard Labs
Enter The 20 CFM Drive Blower from FireBoard Labs. This clever fan plugs into your compatible FireBoard and stokes your pit’s firebox as needed to maintain your desired temperature as measured by an ambient grill probe–real-life PID algorithm at work here! The Drive Blower installs directly to the grill’s lower air vent, with no permanent modifications needed. The FireBoard Drive system runs off battery power also!
Starting the Charcoal
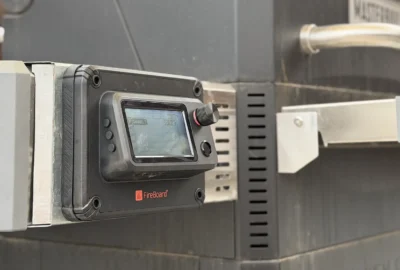
 Building a fire in a Kamado is accomplished as you would any kettle grill. Many people might use a chimney-type charcoal starter. However, it can be even easier (and possibly more entertaining?) by using a paper towel and the Drive Blower to get your lump charcoal going. Simply add your charcoal, and if you are smoking your choice of wood with the charcoal as well. Next, tuck a paper towel under about ⅓ of the pile. Then on the FireBoard head unit manually set the Drive’s fan to 50% by selecting “Drive” then “Manual”. This setting controls the fan speed, regardless of temperature.

On the FireBoard, manually set the Drive’s fan to 50% by selecting “Drive” then “Manual” using the buttons.
Next, light the paper towel “fuse” and set the Drive Blower in the firebox, near the burning towel.

Watching the tiny sparks fly as the Drive Blower stokes the coal is definitely part of the fun!
After some of the lumps are glowing orange, you can close the grill’s lid and set the top vent to a fairly small opening. Then fit the fan in the grill’s lower vent door, the Drive Blower comes with two adapter plates and more intricate adapters are also available.

Small opening of top vent

Fitting the Drive Blower in vent door
Setting the Temperature
To set a desired cooking temp, attach an ambient temperature probe to your grill and set your desired temperature, via “Settings” and then “Set Point”.

Set Point under Settings is where you select your desired cook temperature.

Or use the FireBoard App to set the target temperature…or change the temp when you are at work.
The fan receives power directly from the FireBoard’s battery and is good for about 10 to 12 hours of cooking. For longer cook times you can plug your FireBoard into its USB-C charger or use the optional battery pack which will buy you an additional 10-12 hours of cooking time.
From there the FireBoard takes over and commands the Drive Blower to add extra air as needed to keep cooking temperature stable.
Results

Drive Blower is illustrated on the graph in green measured in fan RPMs
With the sample fire we built, the results were impressive showing a solid ambient temperature for almost 12 hours with occasional input from the Drive until about halfway through the session. At that point when you would normally have to adjust your stack vent, the fan picks up speed as needed to maintain the set temperature.

Ted’s Sunday Brisket session
Here is a real-world look at the Kamado x Drive Blower combo at work, Ted’s Brisket session. Note again that steady Kamado heat curve, and modest input from the Drive’s fan.


3 Comments
Christopher
Can you start from cold without overshooting by 100 degrees or more? Is the trick to mostly close down the top damper at the start and let the fan do all the work? Was the damper on the fan open all the way the whole time?
Jeff Nichols
We did our test with the fan’s damper wide open, and the top vent just slightly open. If your grill does not have an adjustment on the top vent, then you can easily make up for this by using the fan’s damper.
As far as overshooting temperature goes, placement of the ambient temp probe is key in preventing this. Having it measure temp in a colder area of the grill surface will tell the fan to keep working and over compensate. Every grill being different, you will need to experiment a bit to settle on the best place for your ambient probe, and how to set your vents. We had the ambient probe placed above our test Primo’s ceramic diffuser plate.
Jeff
Been using this setup for the last year on my Joe. Works flawlessly and especially great on those overnight cooks!